


In pediatric AED training the number one pause point is pad placement. Front or back, left or right, how far from the sternum, what if the chest is small. Hesitation creeps in, seconds tick by, and confidence dips. A clear visual at arm’s length solves that stall.
What Philips HeartStart AED Infant/Child Pads Placement Guide Does for You
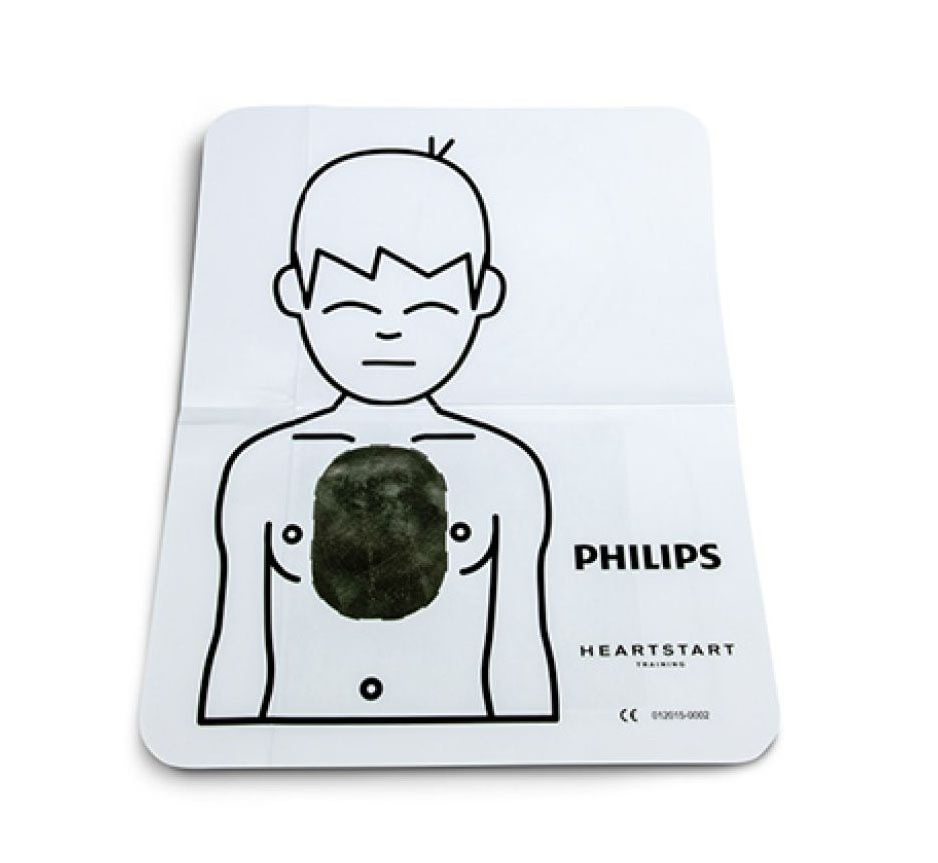
When you run a class, your time is better spent coaching technique and reinforcing good habits, not repeating where pads should go. The Philips Infant/Child Pad Placement Guide gives learners a precise, anatomically accurate reference they can copy immediately. Trainees see exactly how pediatric pads should sit on the chest and back, then mirror that position on a manikin with less prompting from you.
The guide is built for repetition. Laminated cardstock stands up to constant handling, quick wipe downs, and travel between sites. Its compact 10 by 6 inch size slides into a training binder or AED trainer case without bulking up your kit. Because it is designed for Philips training environments, it aligns naturally with the look and layout your learners will encounter when practicing with HeartStart pediatric training pads and training devices.
Most importantly, it standardizes instruction. Everyone in the room references the same visual, so you reduce variation between instructors, sessions, and locations. That consistency turns into faster hands on practice, fewer corrections, and stronger muscle memory. The result is more confident responders who remember pad landmarks under pressure. Note, this product is for training purposes only, it is not for use in an actual emergency.
Who This Is Perfect For
CPR and AED instructors who want to keep classes moving. Set a guide next to each manikin so learners can self correct placement while you circulate. You spend less time re explaining orientation and more time refining compressions and scenario flow.
Schools, camps, and youth programs building a repeatable in house training routine. A quick visual lowers anxiety for staff who do not teach daily, especially when rotating through infant and child scenarios in the same session.
Clinics and dental offices that run short drills for new hires. A laminated reference lives with your AED trainer so anyone can practice pediatrics during onboarding, then refresh on demand before inspections or audits.
What Sets It Apart
Plenty of classes use generic slides or small illustrations. This guide is a tactile, durable tool built to live in the kit, not on a screen. It blends accuracy, resilience, and Philips ecosystem alignment so your teaching clicks faster.
Clear, anatomically accurate diagrams
Learners see correct pediatric pad positioning in relation to prominent landmarks on the torso. That context eliminates guesswork, so students translate the image to a manikin quickly and consistently.
Training kit friendly footprint
At 10 x 6 inches and just 0.1 inches thick, the guide fits binders, AED trainer cases, and go bags without bending or taking over space. It is always within reach when you set up stations.
Built for repeated handling
Laminated cardstock resists tears and edge fray from frequent use. Wipe it down between classes and keep using it. Durability protects your budget because you will not replace flimsy prints every quarter.
Aligned with Philips training
Designed to complement Philips AED training pads and devices, it reinforces what trainees see and hear during practice. That alignment reduces cognitive load and speeds up correct placement.
Worth the Price?
At 64 dollars, this is a straightforward investment that pays back in smoother classes and fewer remediation minutes. If you teach twelve sessions a year with ten learners each, your first year cost per learner is just over fifty cents. The guide will keep working well past that because it is laminated and sized to avoid damage in transit.
Beyond the math, you buy reliability. Consistent visuals across instructors and locations tighten your training standard. That lowers the likelihood of mixed messages and retraining, and it boosts learner confidence when presenting skills for evaluation. You also protect your AED trainers, because students correct pad placement with their eyes first, not by sticking and resticking pads on a manikin until something looks right.
The cheapest way to eliminate the most common pediatric AED error is a clear, durable visual in every kit.
Common Questions, Honest Answers
No. This is a training and education tool only. Use it to teach and practice pad placement during classes and drills. In a real emergency, follow your AED’s voice and visual prompts and your training organization’s guidance.
The diagrams teach universal landmarks for infant and child scenarios, so the visual concepts carry over. The guide is designed to align with Philips HeartStart training pads and devices, which gives the most seamless experience in Philips based programs.
Keep the guide flat in a binder sleeve or AED trainer case to protect the edges. The laminated surface is suitable for routine wipe downs. Avoid folding or creasing so it stays perfectly readable for the long term.
The Bottom Line
If you teach pediatric AED skills, this guide removes hesitation and locks in correct pad placement fast. It is durable, compact, and built to align with Philips training gear. Put one next to every manikin and you will feel the difference in pace and confidence by your next class.
Add the Philips Infant/Child Pad Placement Guide to your cart


